
How to Adjust Moths | Product Name “GA
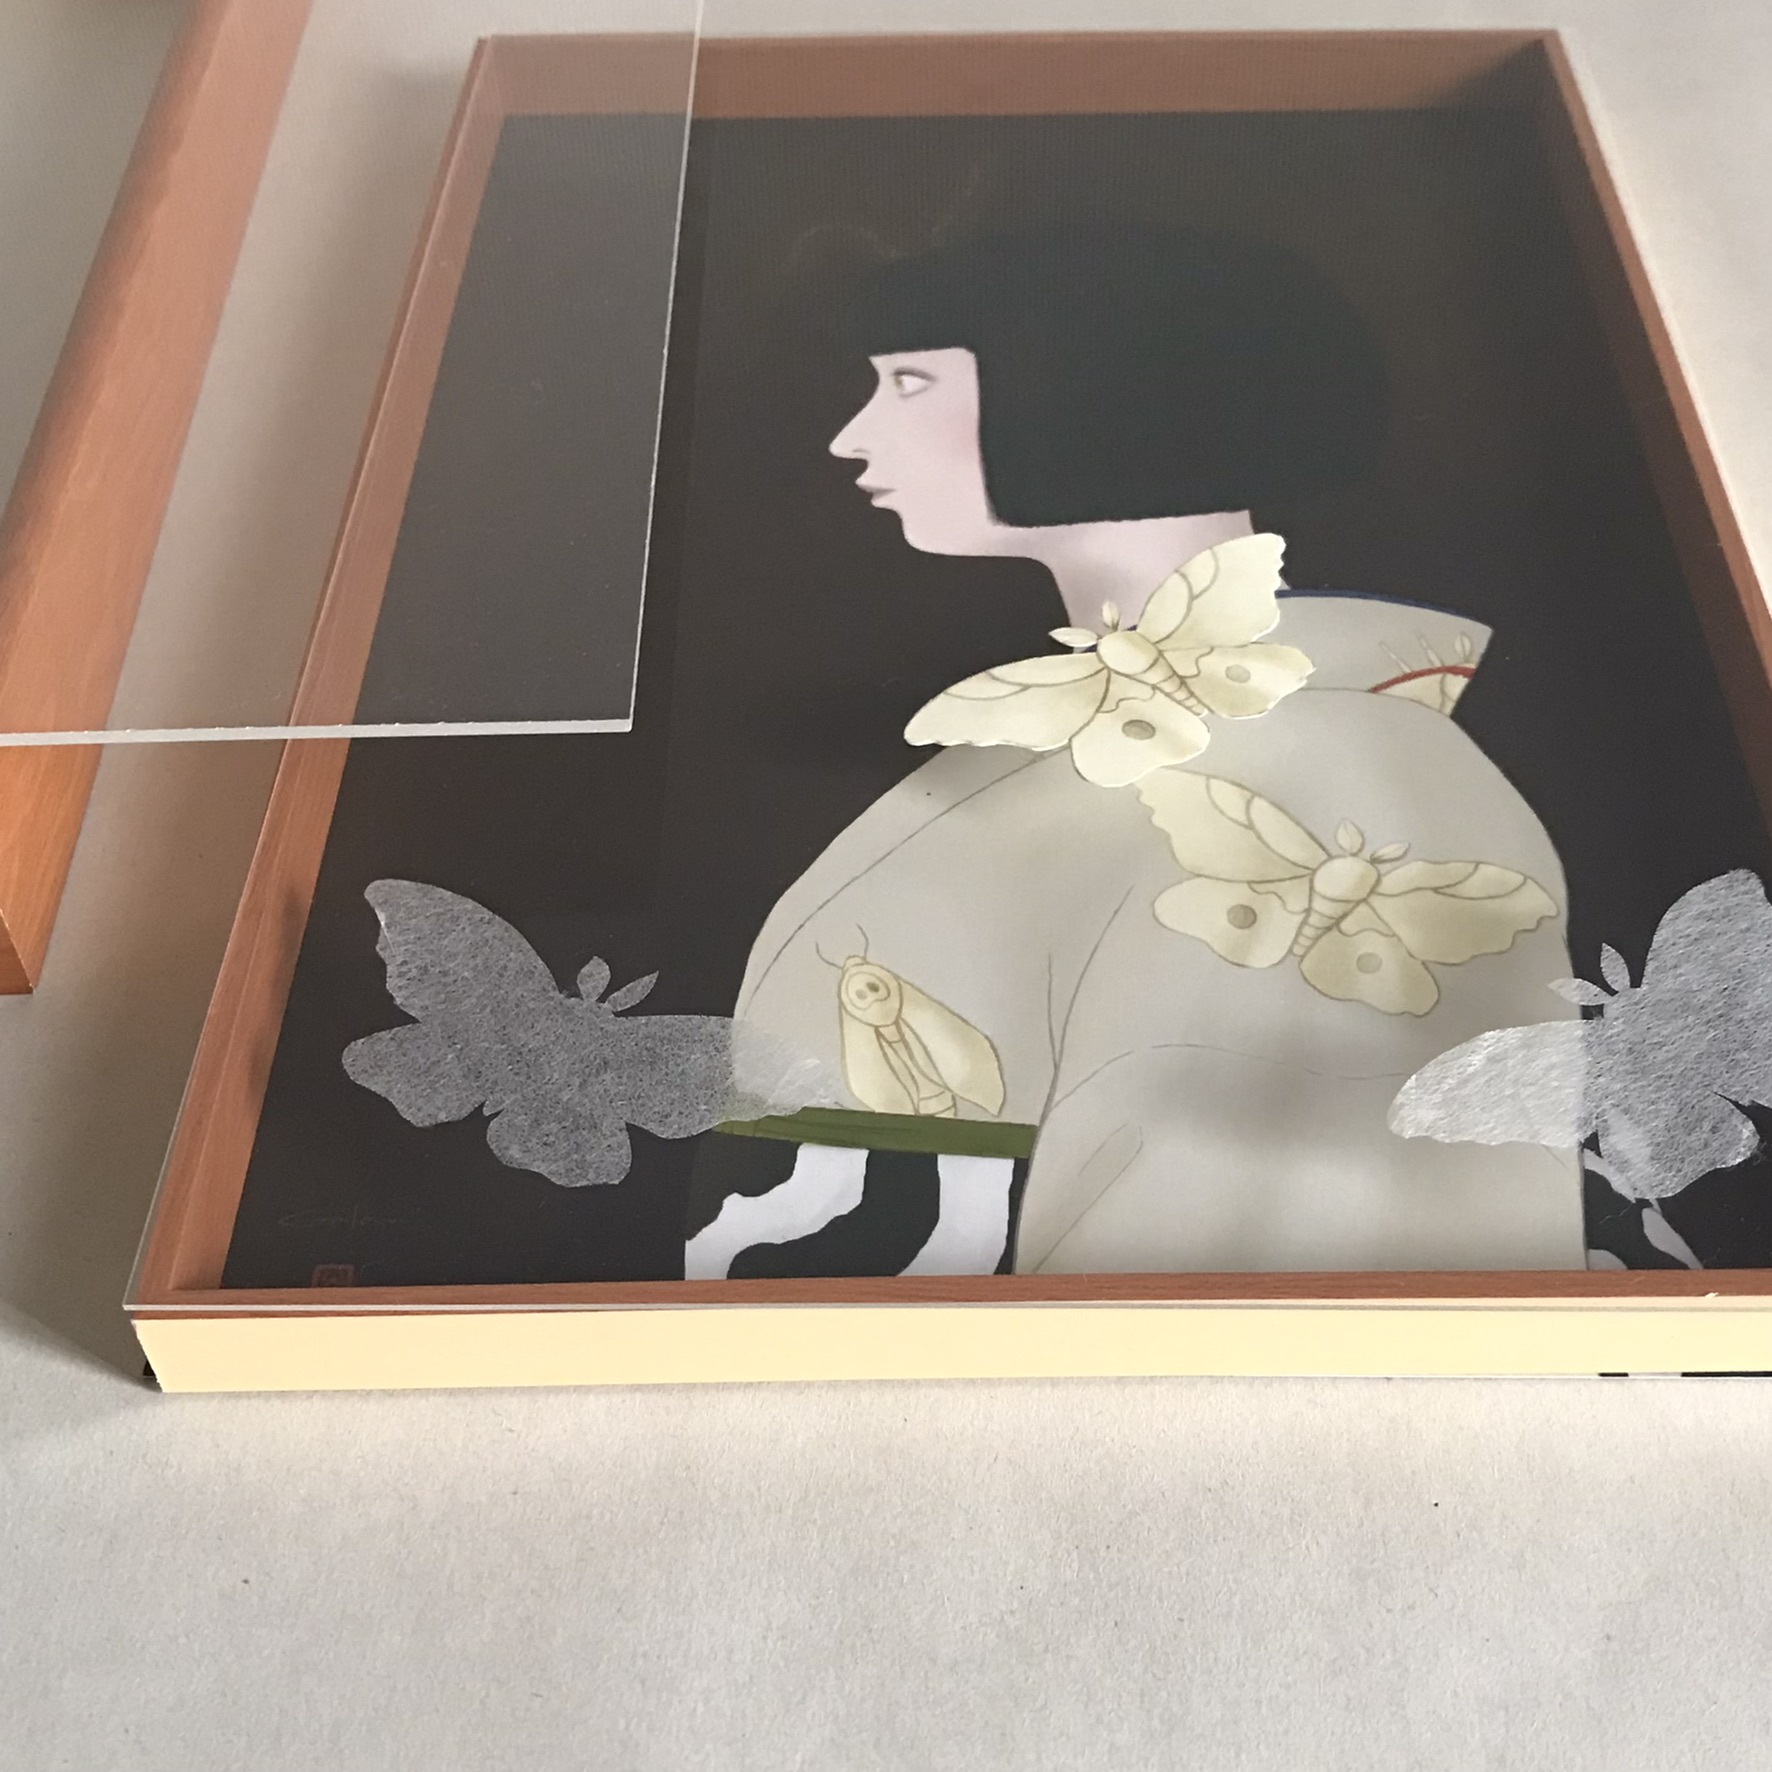
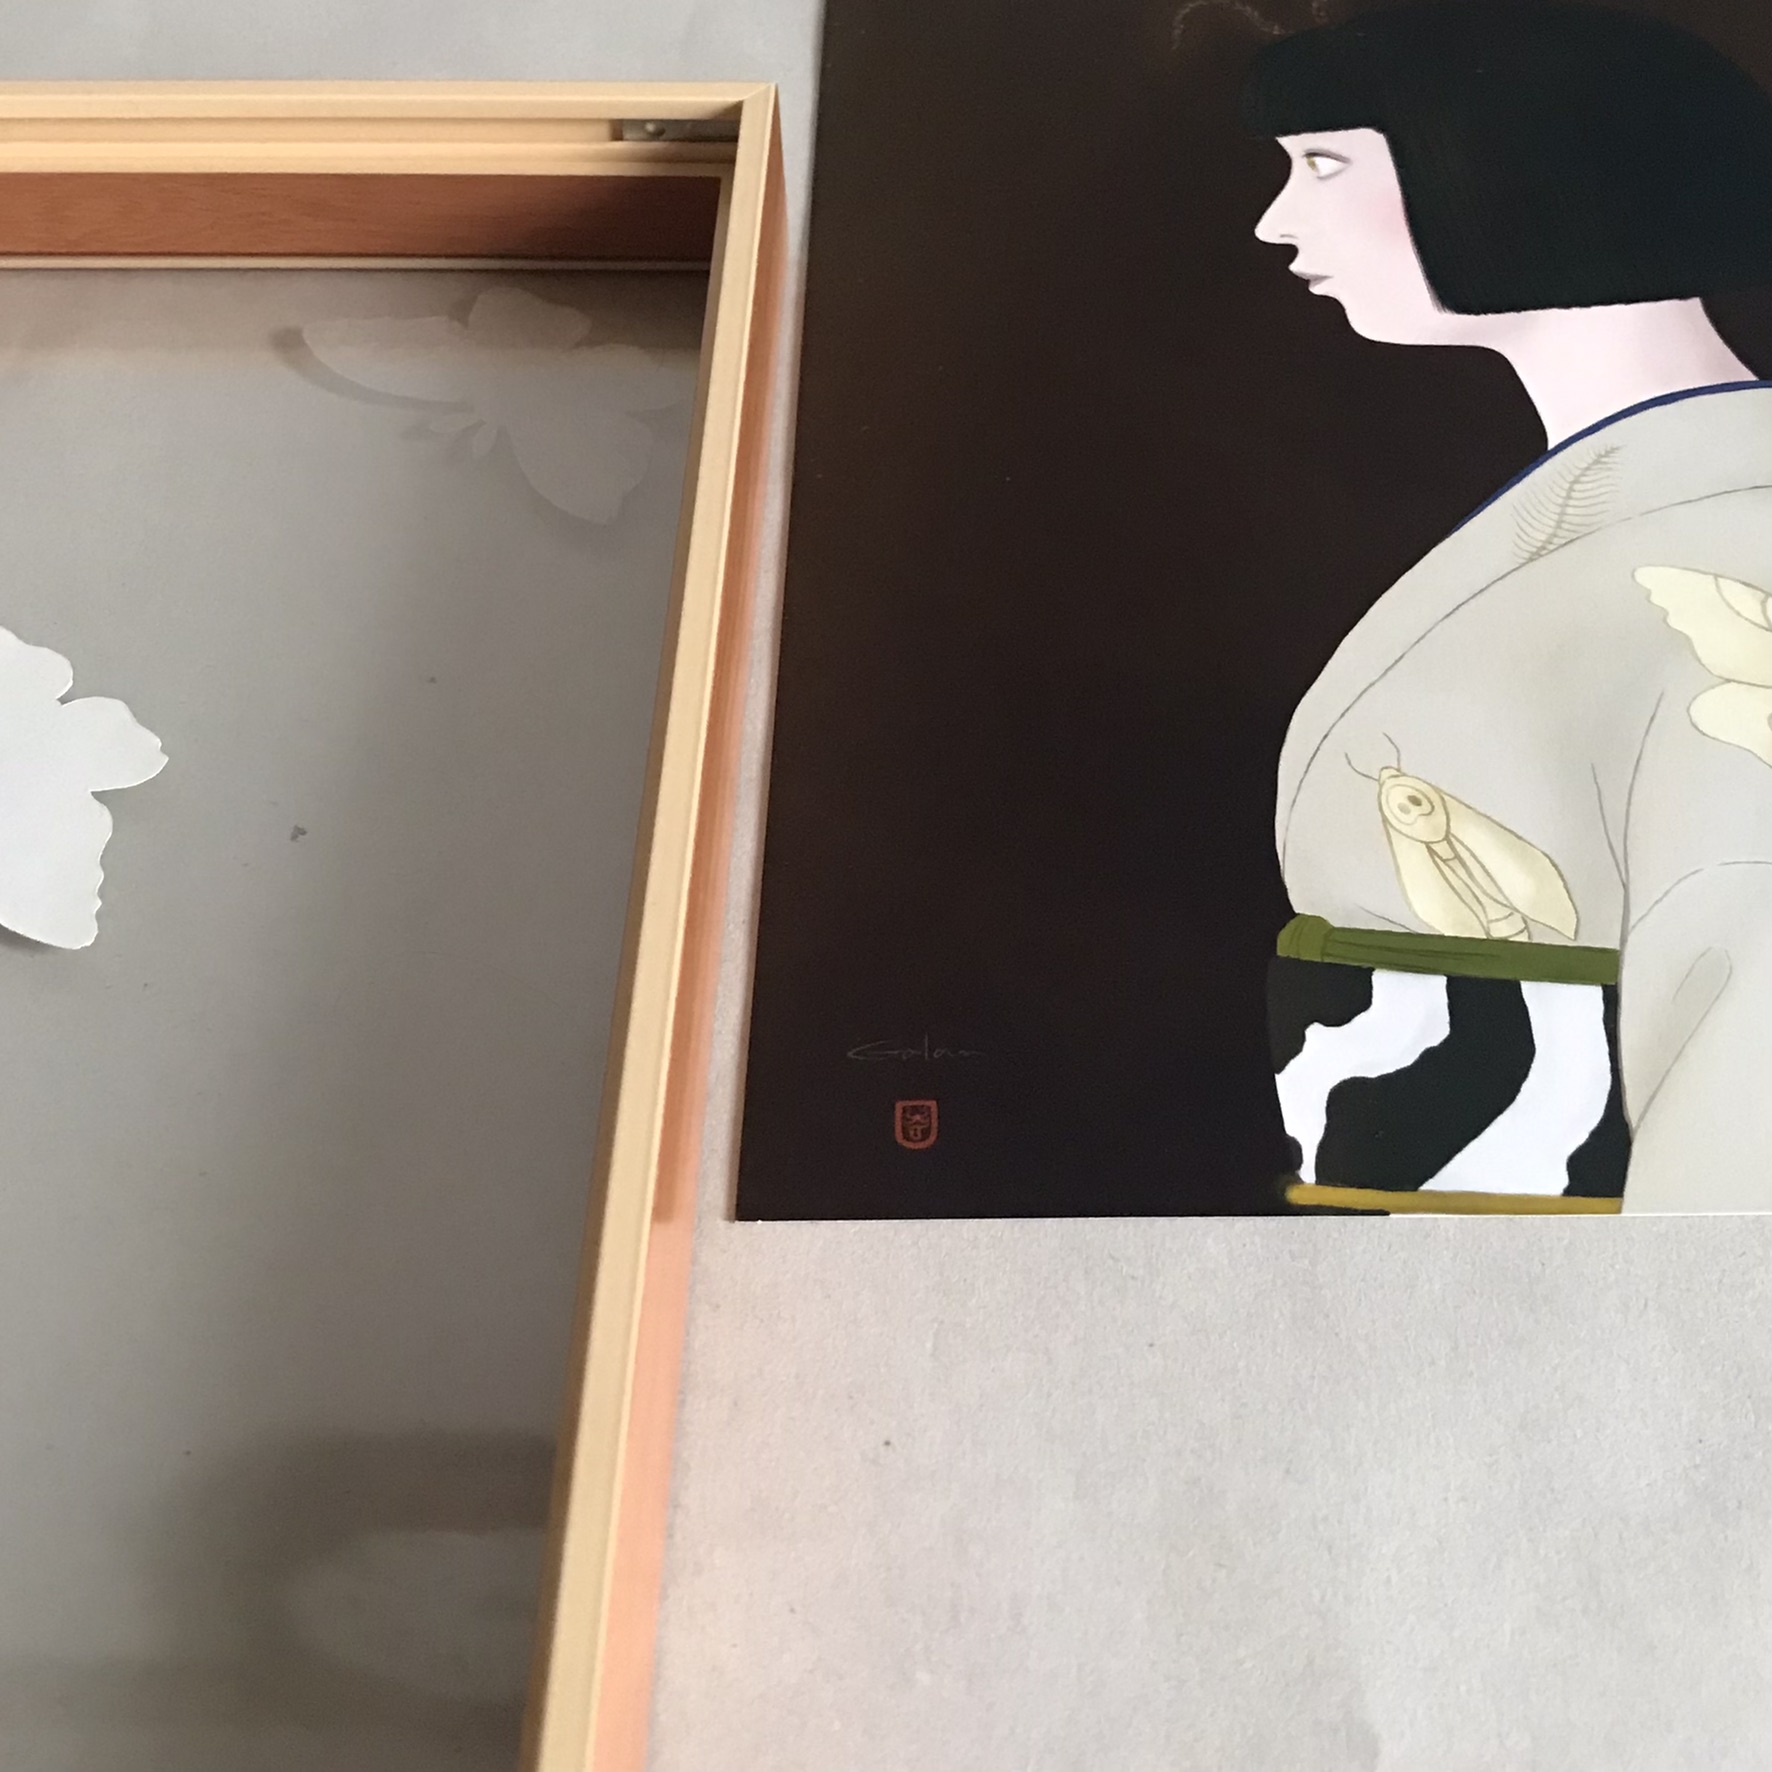
The three moths in this piece are not glued together so they can be repositioned or the number of pieces can be changed.
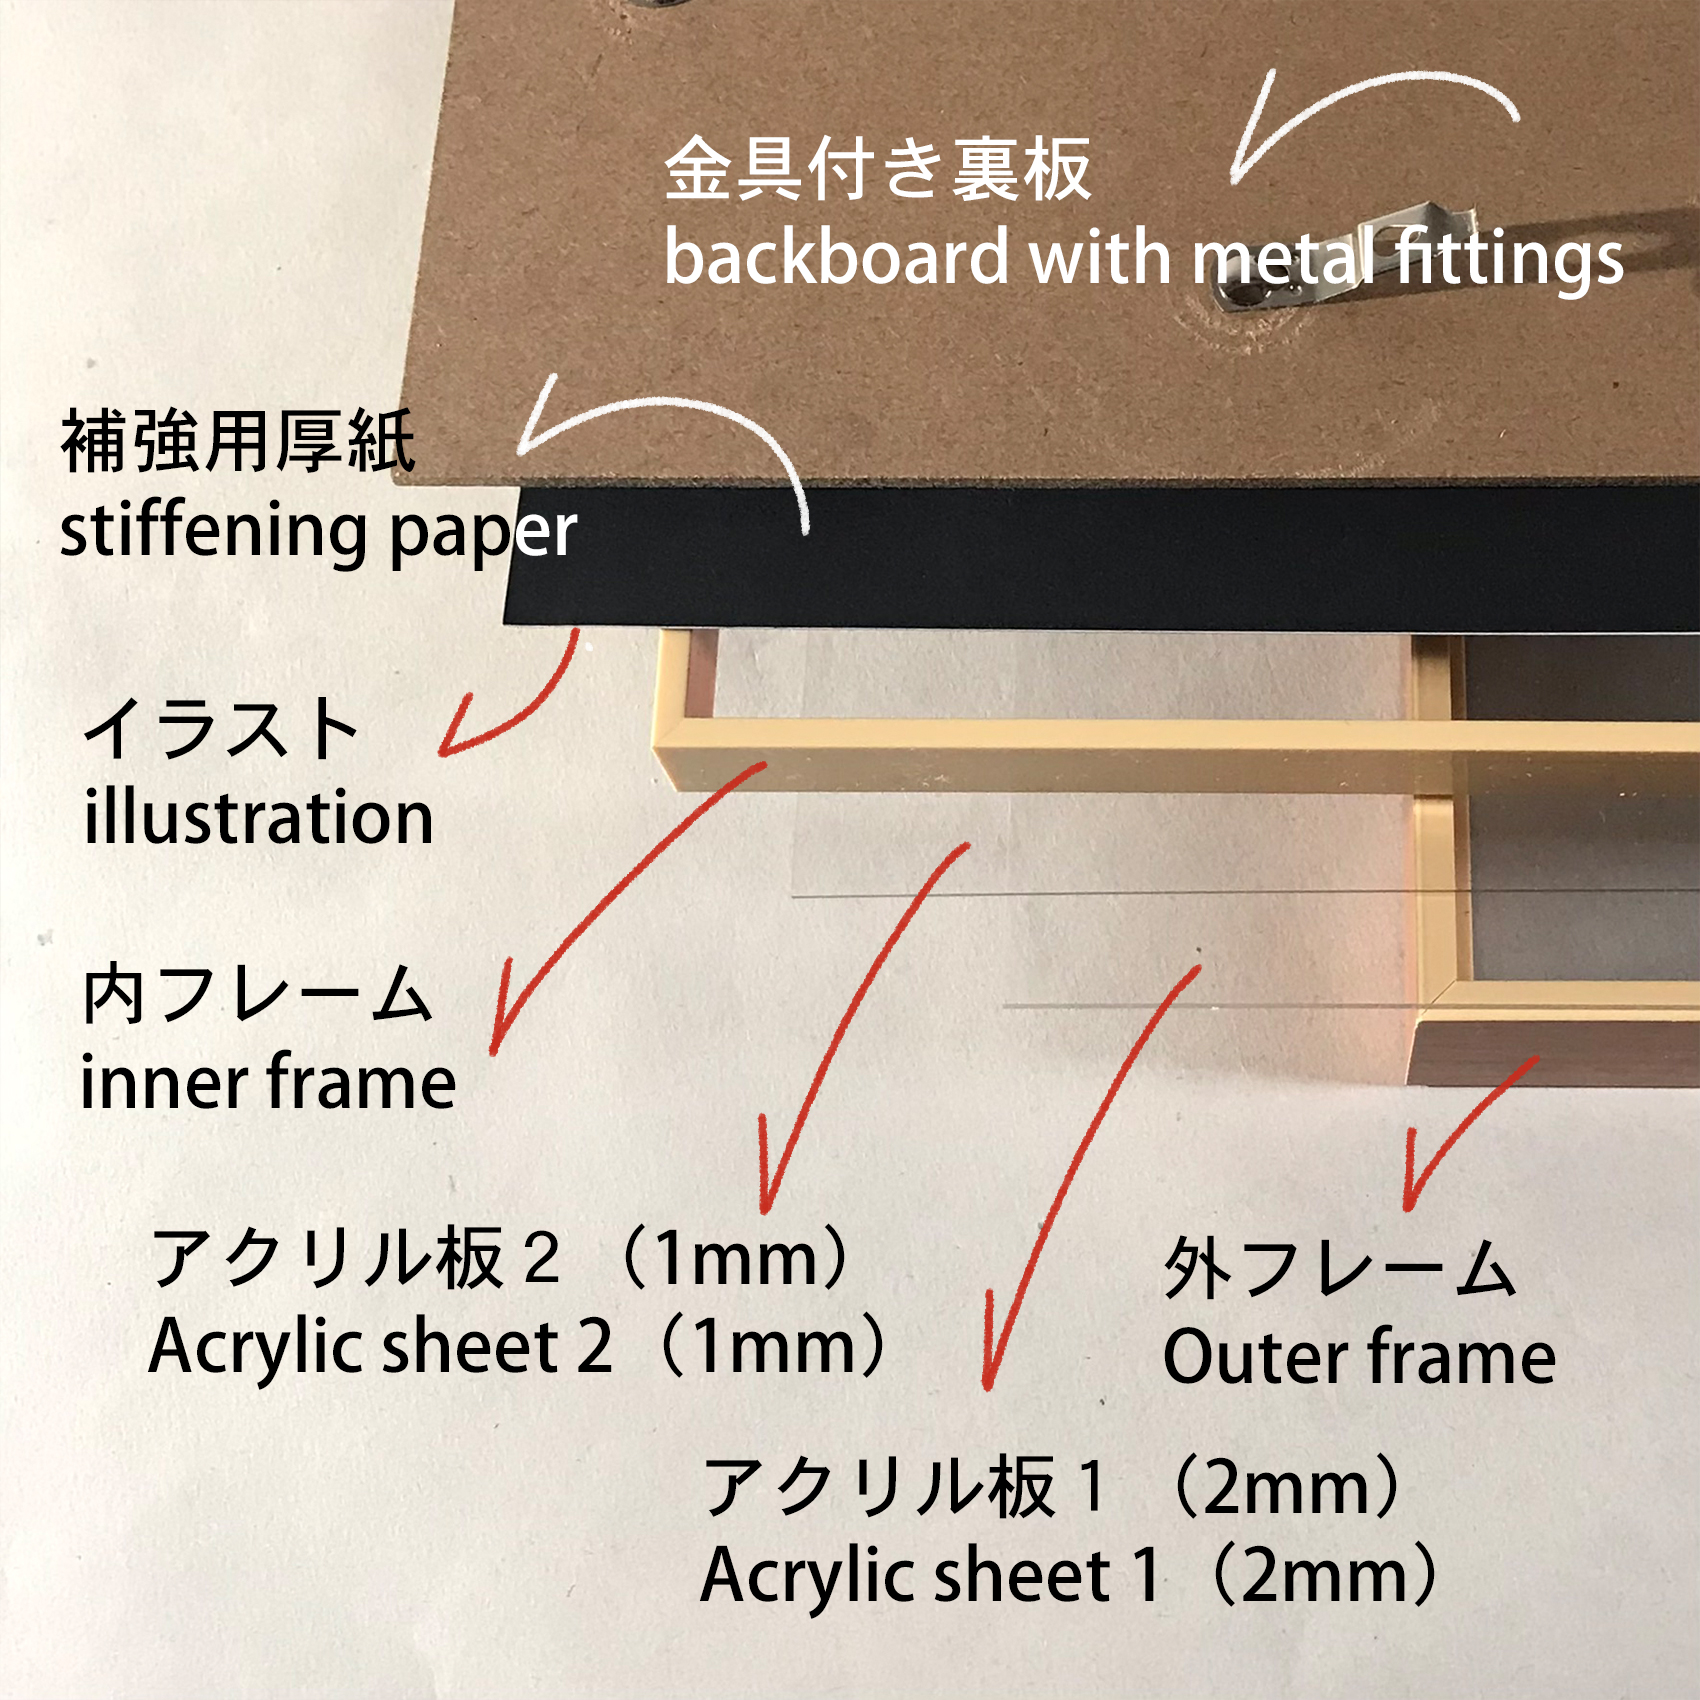
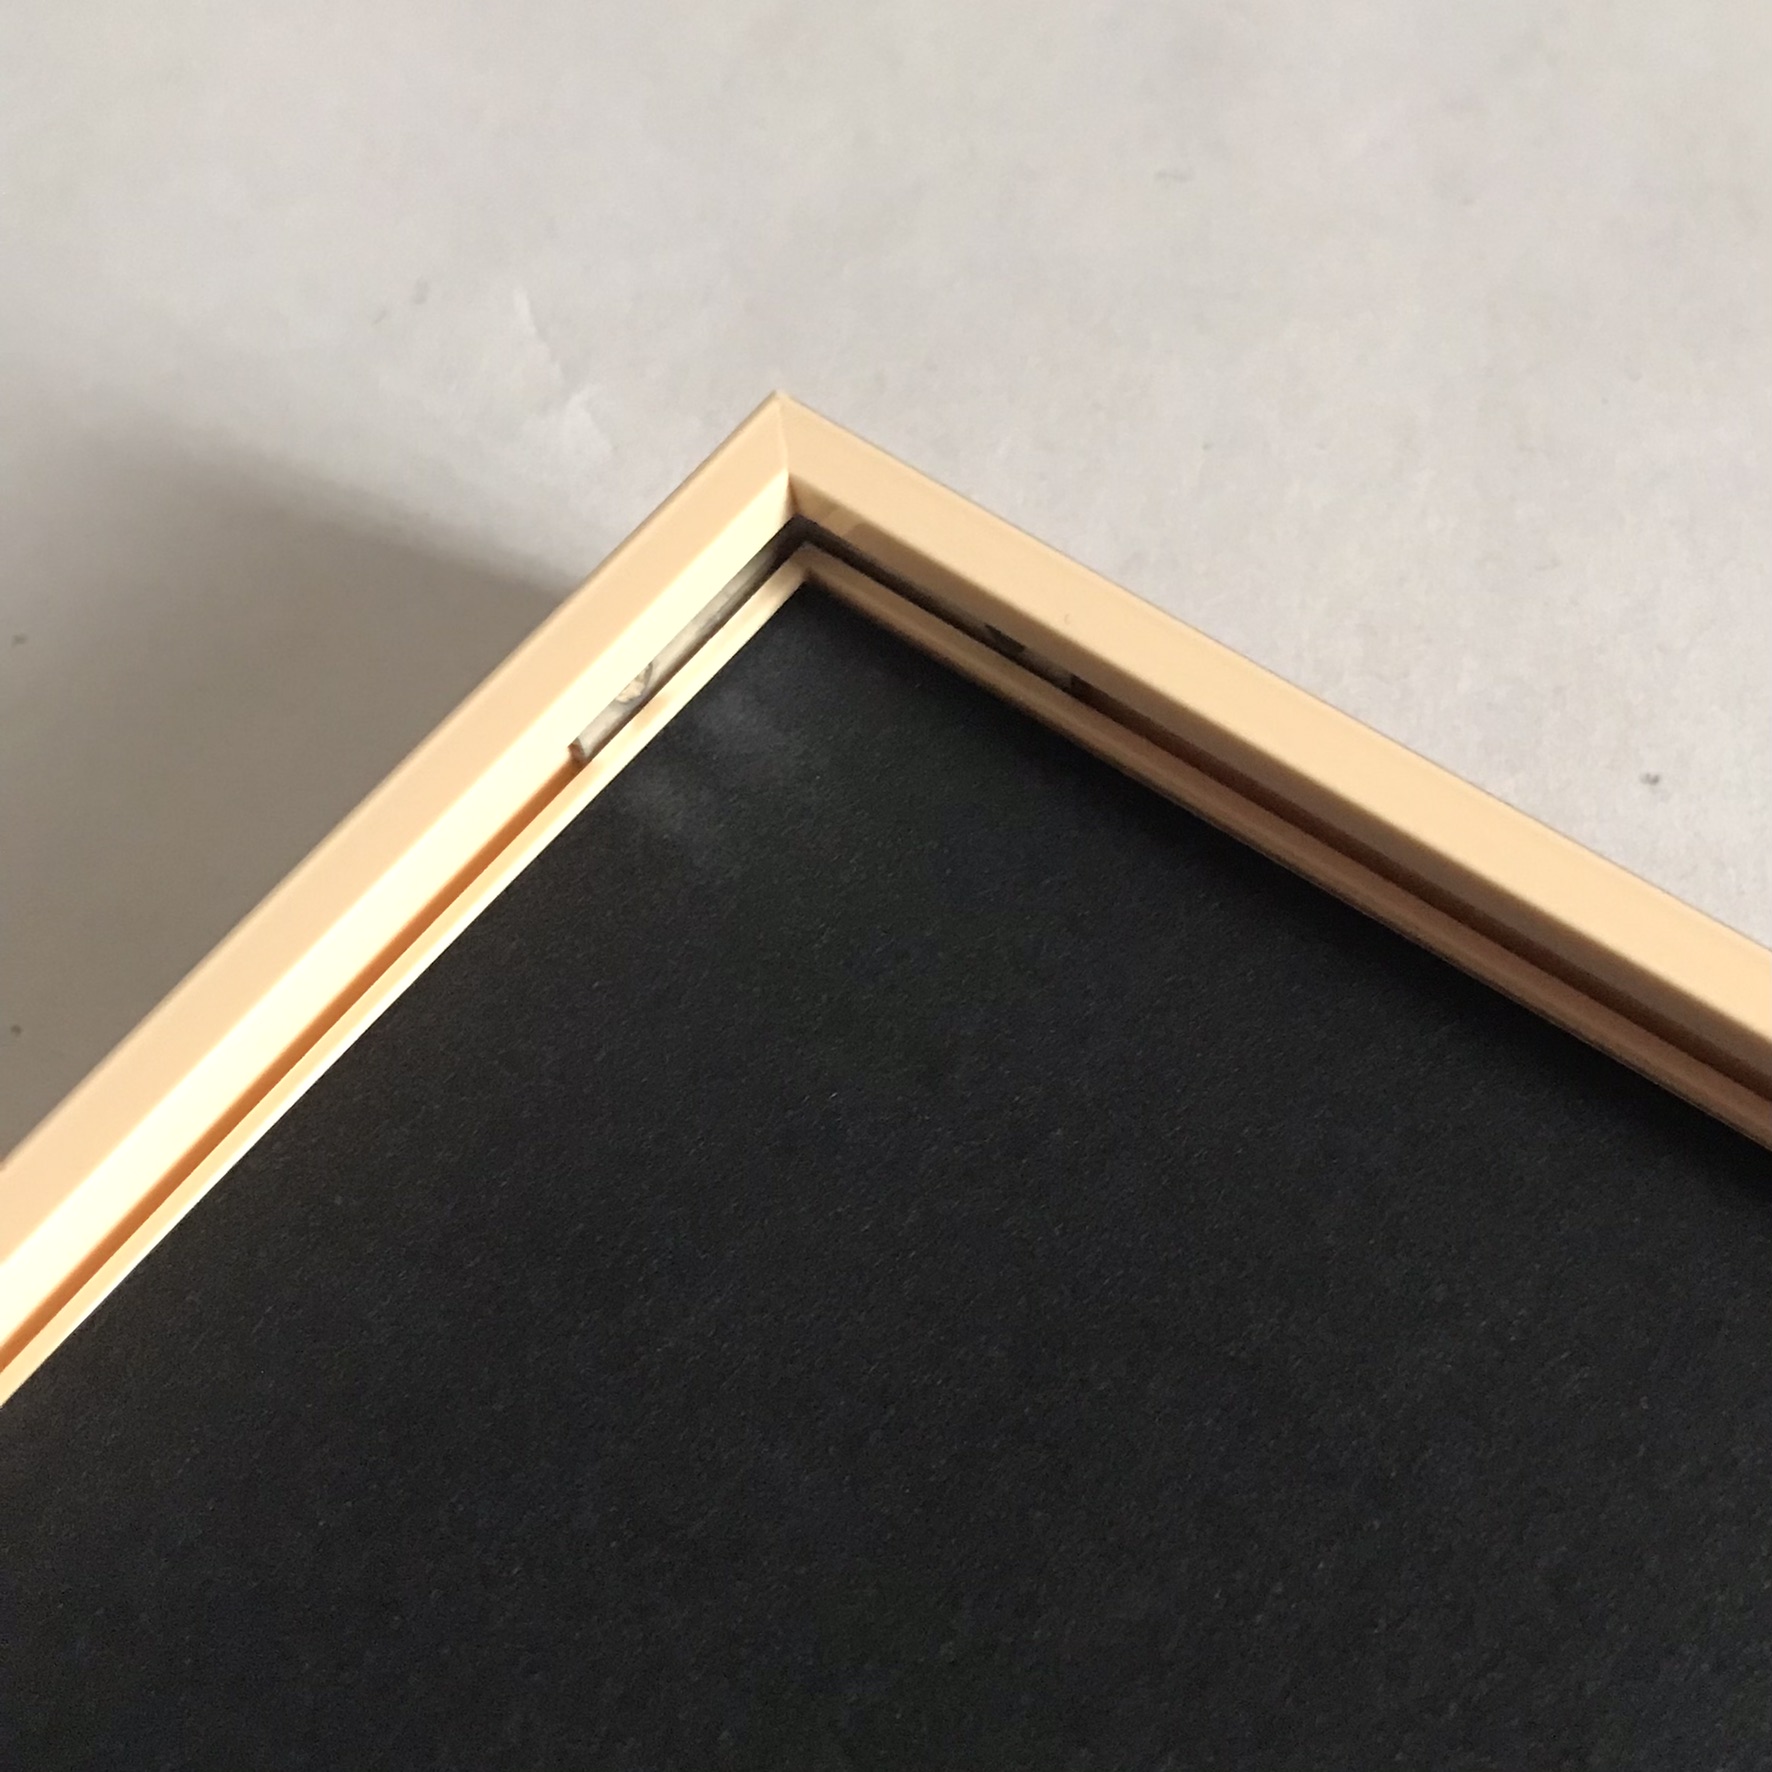
The frame structure of this type of three-dimensional work looks like this.
*The illustrations and the cardboard for reinforcement are glued at the top. Also, the decoration of each piece is sandwiched between acrylic panels 1 and 2.
To change the position of the three moths, first remove the back board,
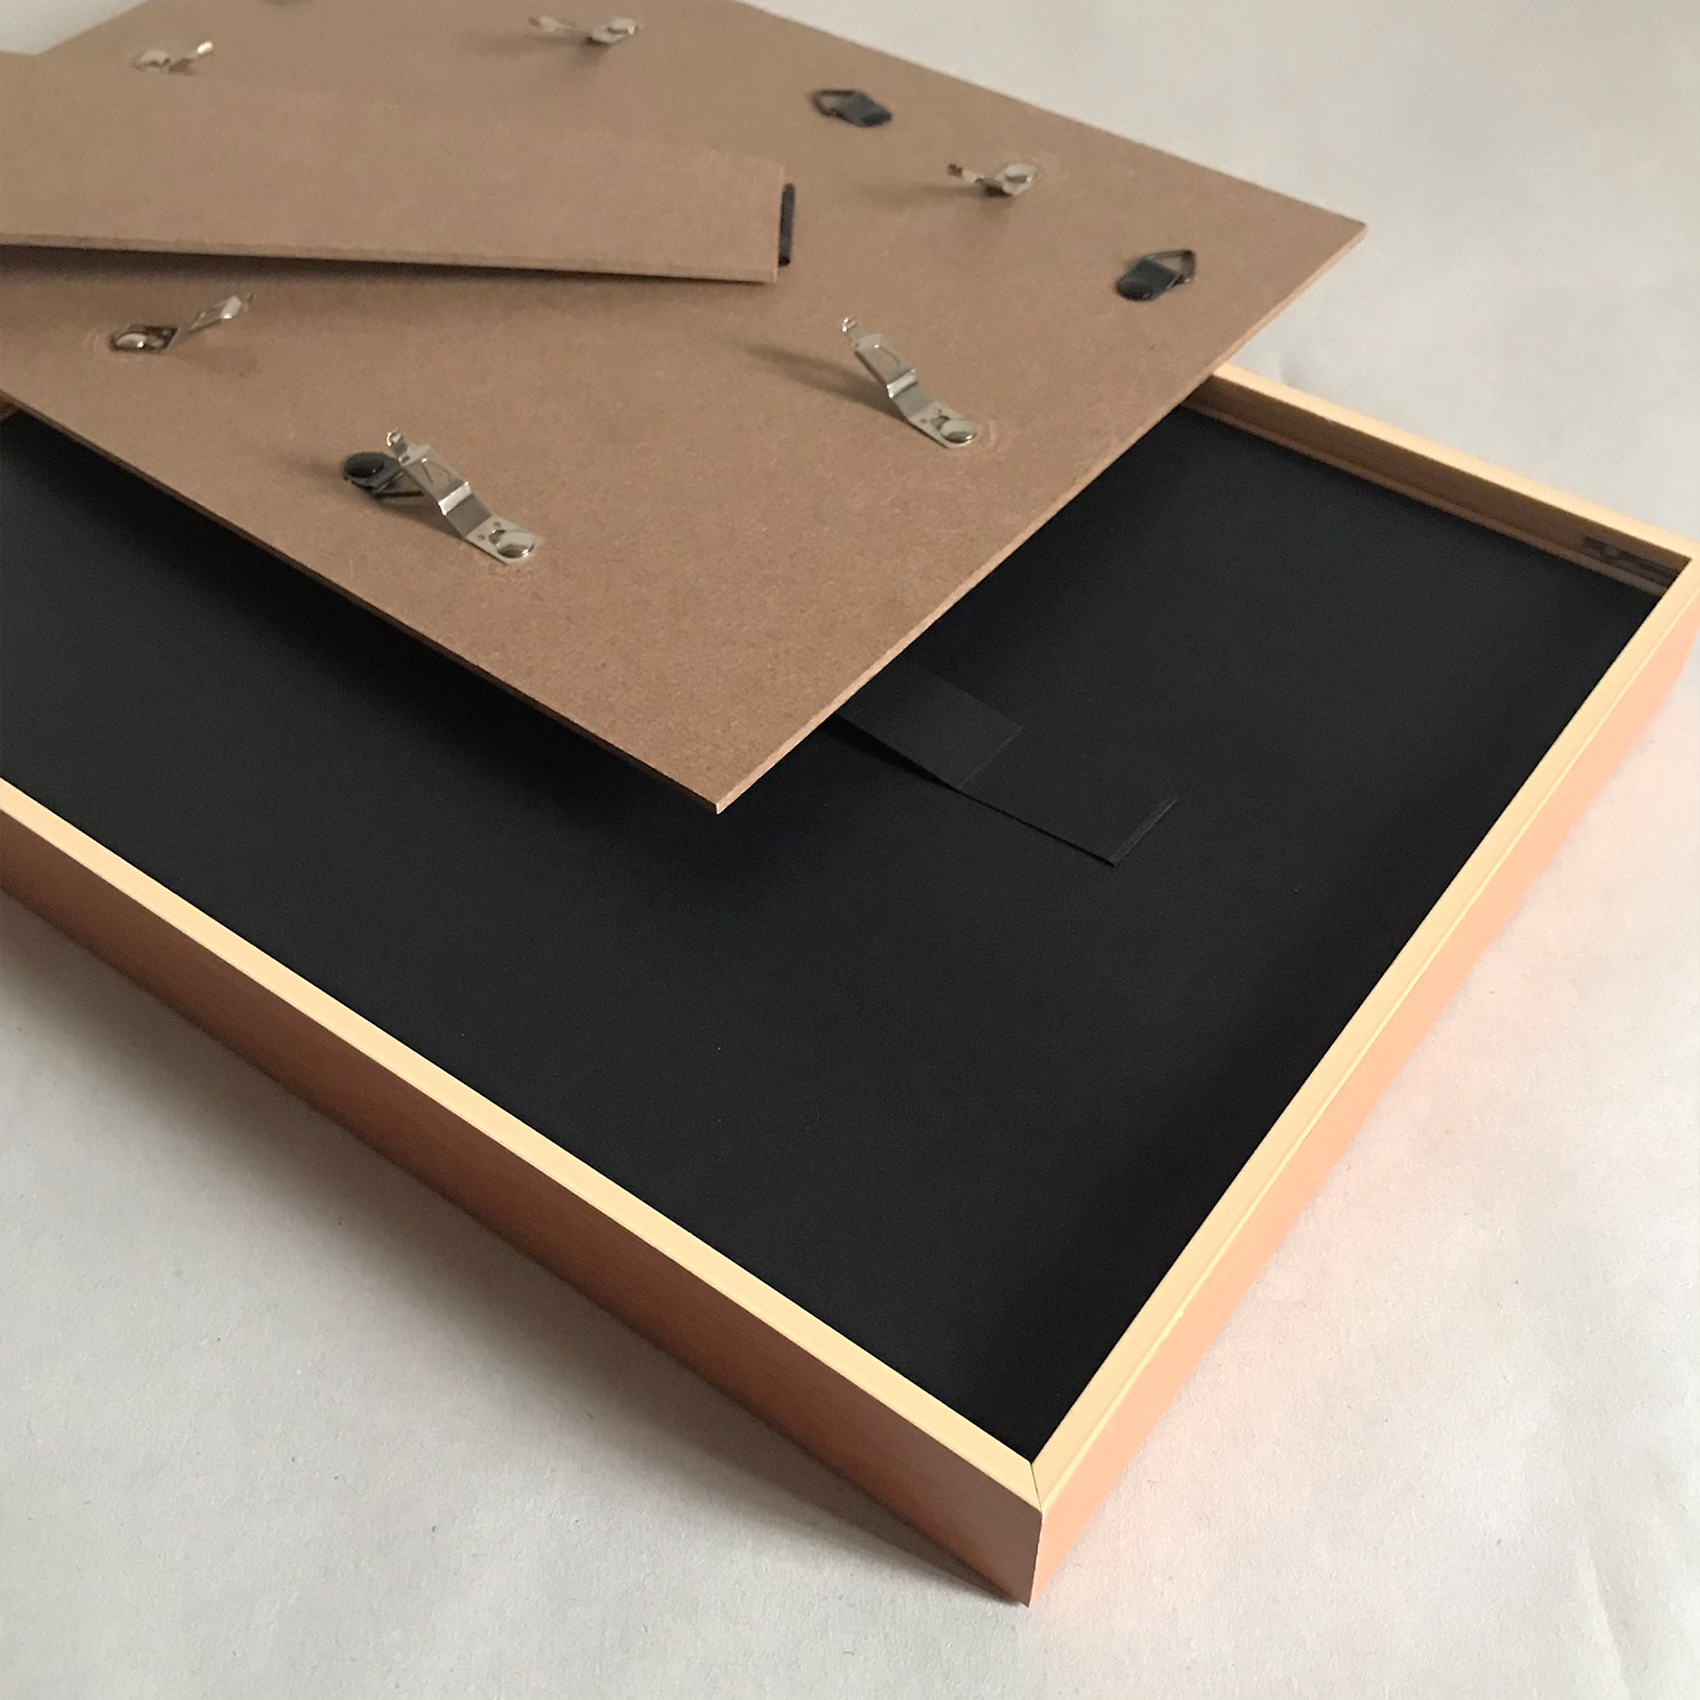
Turn the whole thing over and remove the main frame.
*When turning over, do not hold the center of the illustration but hold the part overlapping the inner frame to avoid wrinkles.
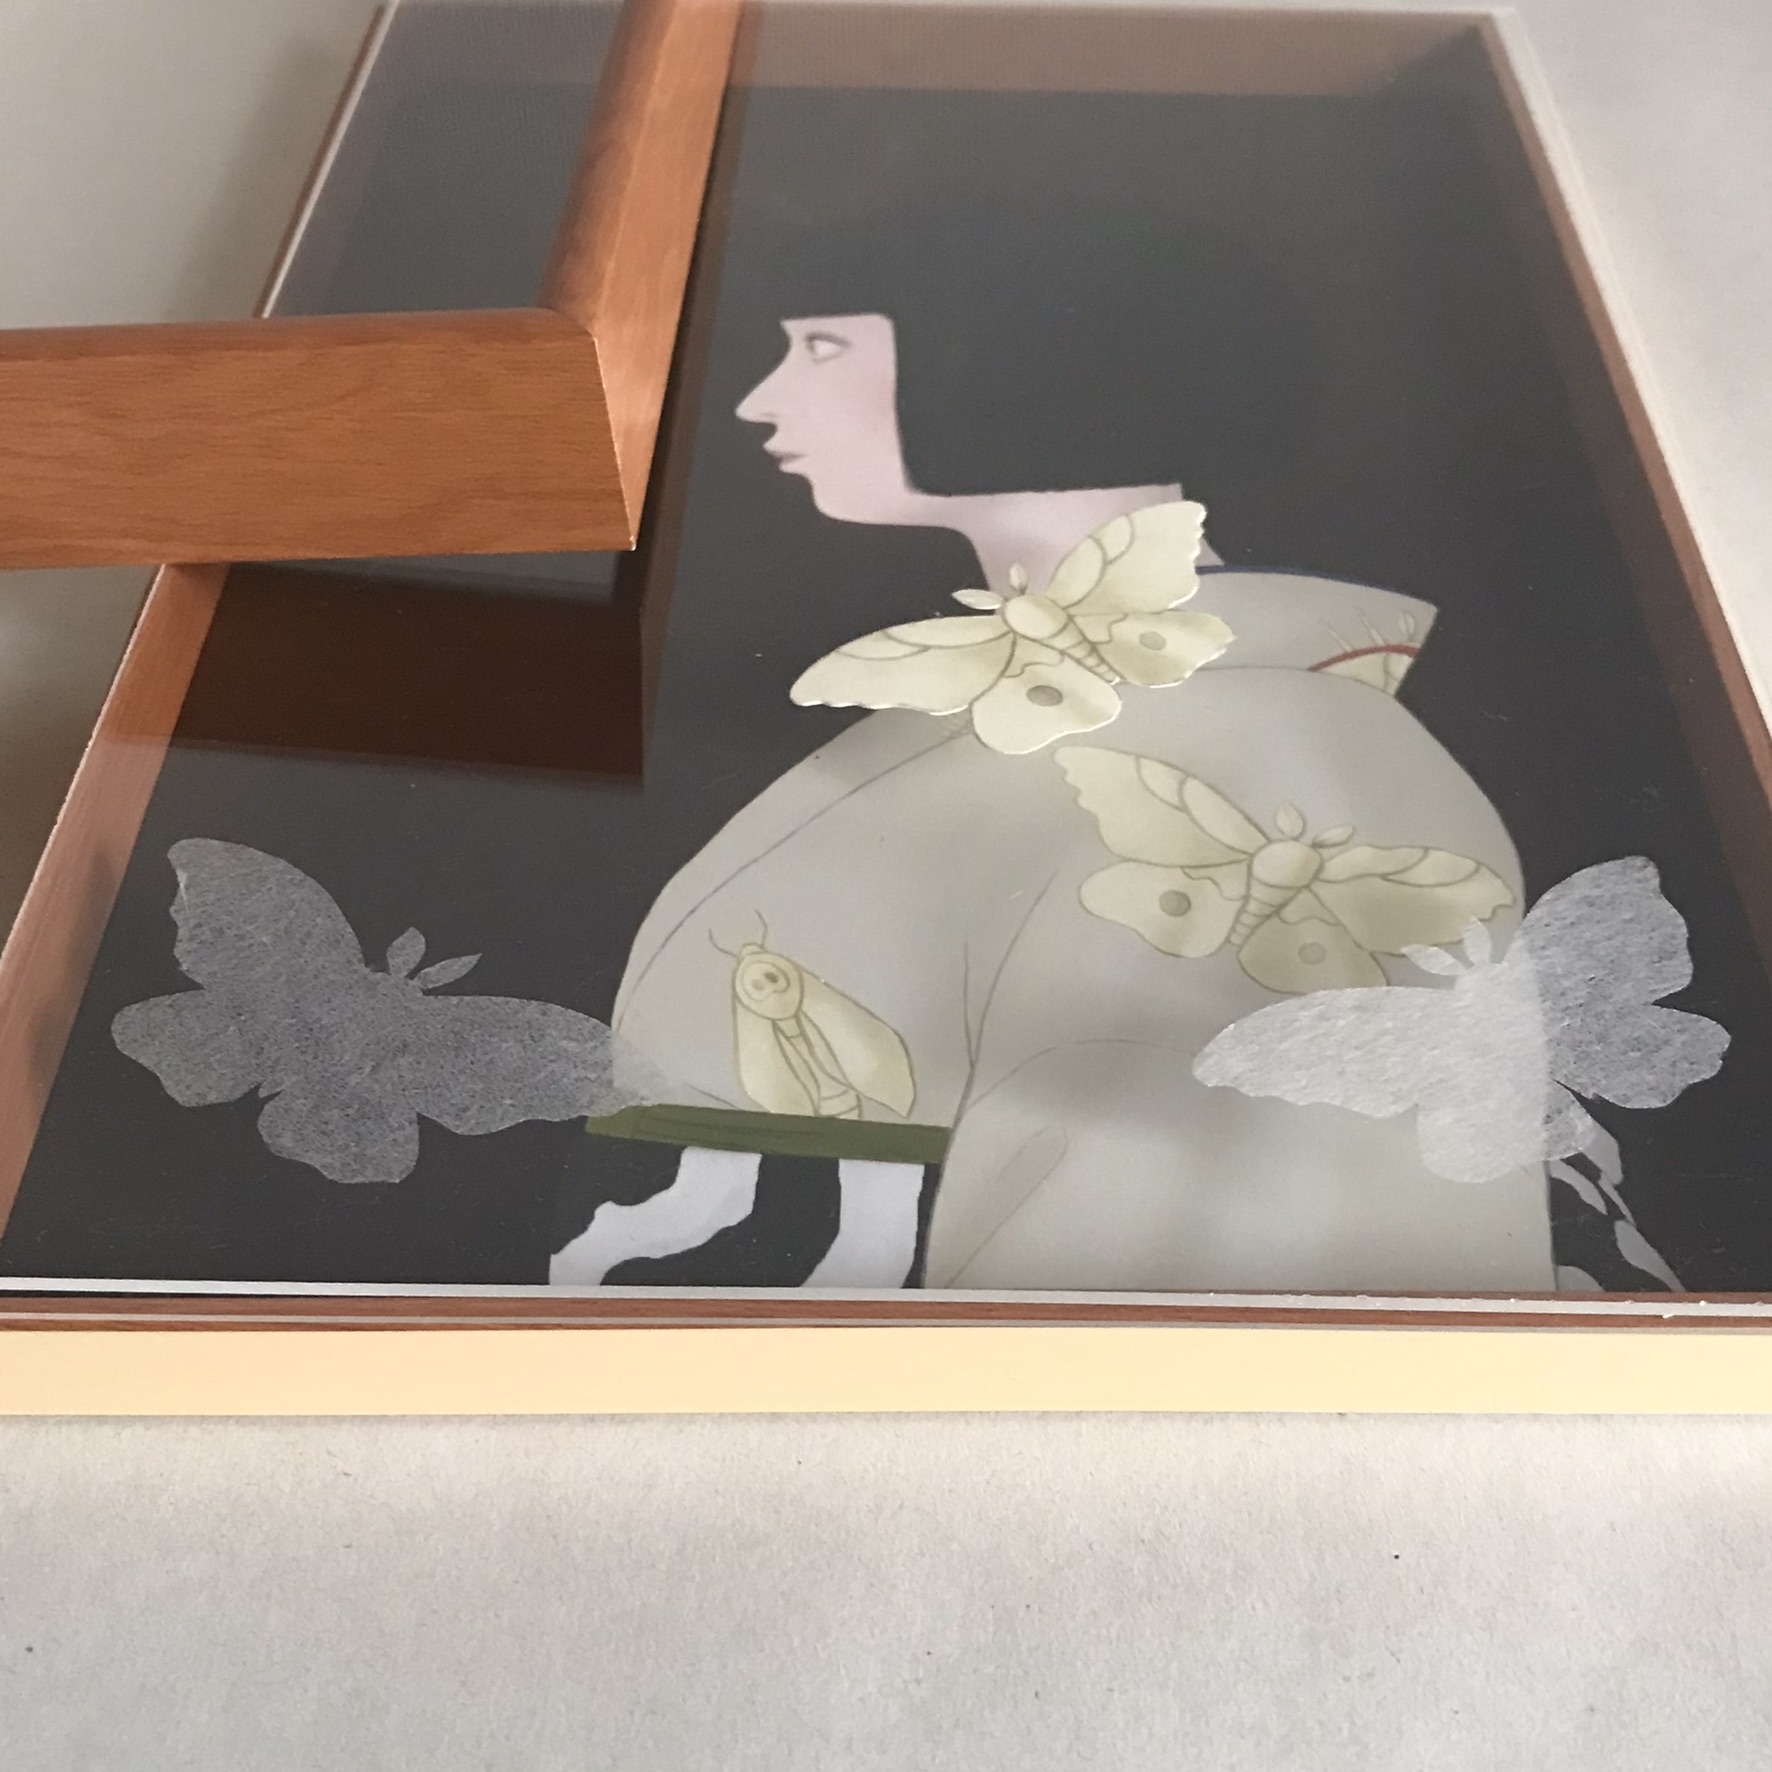
Remove the topmost acrylic plate 1 as well, and change the position and number of moths while looking at the illustration.
After adjustment, put the acrylic board 1 and the frame back, turn it over, set the illustration and the back board on the frame, and tighten the metal fittings. At this time, both the illustration and the last board with metal fittings should be placed in the exact center of the frame before fastening the metal fittings. If they are not aligned, some of the metal fittings may not close easily, and this condition may cause the moth to move.

*Please note that fingerprints may appear on the acrylic board if you directly remove or move the moths with your fingers. I, Galan, use cotton swabs that have been slightly moistened. (A dry cotton swab may cause the fibers to stick together.)
The corners of the acrylic board are sharp, so please be careful not to injure yourself.
That’s all, if you have any questions, please contact me anytime. You can email me or DM me on Instagram.
🍀